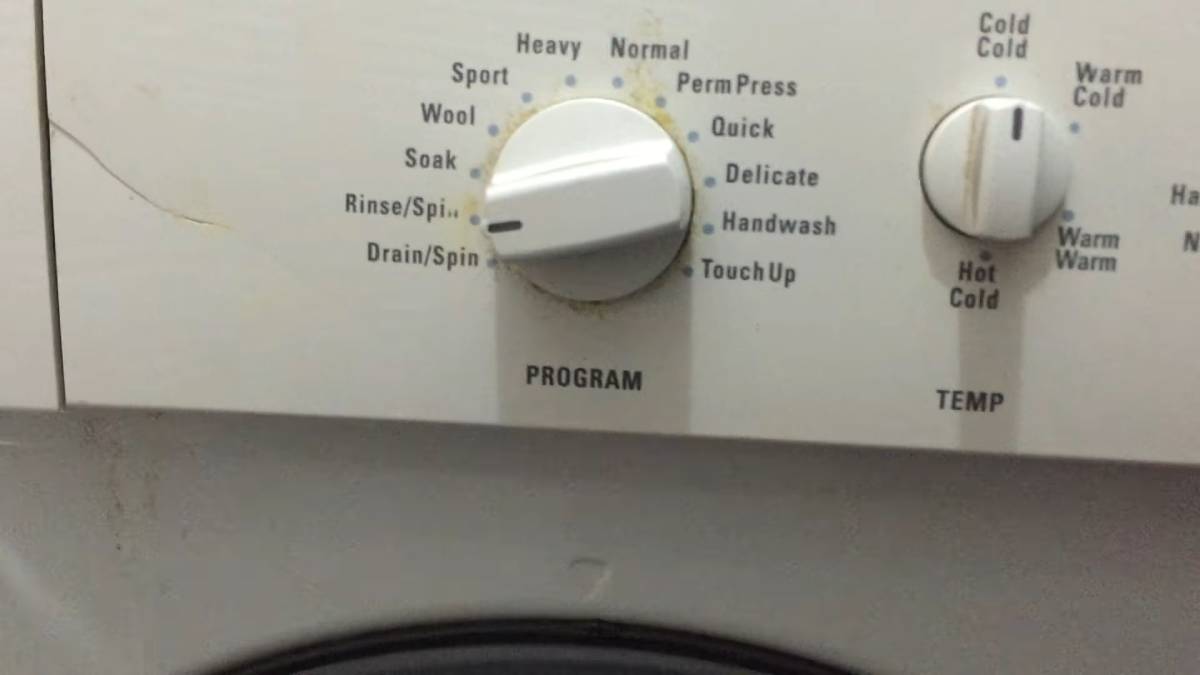
If you’ve ever encountered the frustration of a Kenmore washer refusing to drain, you’re not alone. Sometimes, the washer was full of water, yet it refused to drain despite having power to the circuit.
Our expert, who recently tackled a stubborn Kenmore washer himself, will share practical tips and tricks to get your appliance back in working order.

Highlights:
- Always attempt the drain and spin cycle to troubleshoot the issue initially.
- The likely culprit is often the filter; locate it, release the clamp, and clean out any debris causing the blockage.
- Check the pump for additional clogs or obstructions, ensuring a thorough cleaning.
- When removing the front panel, be cautious and follow safety measures to prevent accidents.
- After cleaning, run a test load to confirm that the draining issue has been successfully resolved before reassembling the washer.
Additional Resources:
How to Fix Kenmore Washer Not Draining
To fix a Kenmore washer not draining, first, try the drain and spin cycle. If unsuccessful, remove the front panel, locate the filter and pump, clean out debris, reassemble, and run a test load. If the issue persists, consult a professional for pump replacement.
Here, we’ll walk you through unclogging your washer’s drainage system step by step.
Step 1: Attempt the Drain and Spin Cycle

The first step in troubleshooting a non-draining Kenmore washer is to try the drain and spin cycle. Start by selecting the drain and spin cycle and hitting the start button. Run this cycle a few times to see if it resolves the issue. If this doesn’t work, it’s time to move on to the next steps.
Step 2: Locate the Drain Filter
.jpg?w=896&ssl=1)
The likely culprit behind your washer’s drainage problem is the filter. Begin by finding the access panel for the filter, typically located where the water drains out. Our expert suggests that the clog is likely in this area.
Step 3: Remove the Front Panel
.jpg?w=896&ssl=1)
To access the filter, you’ll need to remove the washer’s front panel. This might be a bit tricky if you’re doing it alone. Using a standard screwdriver or a longer, thicker-tipped one, if necessary, locate the access screws beneath the panel. You may need to lift the panel by removing screws at both ends to access the drainage components.
Step 4: Identify and Remove the Filter

Once the front panel is off, you’ll find the filter and pump. The filter is typically secured with a green clamp. Carefully release the clamp and remove the filter. Our expert found a surprising amount of debris, including small rags and plastic fragments, causing the clog. Shake the filter to dislodge any trapped items.
Step 5: Check and Clean the Pump
Inspect the pump for any additional blockages. In the expert’s case, the pump was completely clogged. Use a vacuum or a wet-dry shop vac to remove any standing water before clearing the pump of debris.
Step 6: Reassemble and Test
After cleaning out the filter and pump:
- Reassemble the washer by securing the filter with the green clamp.
- Make sure everything is securely in place before putting the front panel back on.
- Run a test load to ensure that the draining issue has been resolved.
FAQs
Where is the filter located on my Kenmore front loader washer?
The filter is typically located near the water drainage area. You’ll need to remove the washer’s front panel to access it.
Is it necessary to remove the front panel to reach the filter?
Yes, removing the front panel is crucial to accessing the filter and pump. It might be a bit tricky, especially if you’re doing it alone, but it’s an essential step in troubleshooting.
What tools do I need to remove the front panel and access the filter?
A standard screwdriver is usually sufficient. However, if the screws are hard to reach, a longer, thicker-tipped screwdriver might be necessary.
How can I prevent future clogs in my Kenmore washer’s drainage system?
Regularly check and clean the filter to prevent debris buildup. Avoid washing items with loose threads or small pieces that could get caught in the drainage system.
Is it normal to find debris in the filter and pump?
Yes, it’s common to find debris such as lint, small rags, or even plastic fragments in the filter and pump. Regular maintenance can help prevent excessive buildup.
What should I do if my Kenmore washer doesn’t drain after cleaning the filter and pump?
If the problem persists, it may indicate a more significant issue with the pump itself. In such cases, it’s recommended to seek professional assistance to diagnose and fix the problem.
Can I use any vacuum to remove standing water during the cleaning process?
Using a wet-dry shop vac specifically designed for handling liquids is recommended. Using a regular vacuum not designed for wet conditions may cause damage.
How often should I clean the filter in my Kenmore washer?
Aim to clean the filter every few months, depending on your usage. If you notice drainage issues, check the filter more frequently.
Conclusion
In many cases, a non-draining Kenmore washer can be fixed by clearing the filter and pump of debris. Based on our expert’s experience, this step-by-step guide provides a practical solution to get your washer back in action.
If the problem persists, it may be an issue with the pump that requires professional attention. Stay tuned for helpful tips and tricks to keep your household appliances in shape!
Source: https://www.reddit.com/r/Frugal/comments/oq28dh/are_kenmore_washerdryer_good_products/

Hello! I’m Paula Deen, a mother who loves to create memories in the kitchen. As a kitchen enthusiast, I love to do experiment with different kitchenware for daily recipes. This is my blog, where I’ll share my experience, knowledge, and reviews on various kitchenware and appliances.